How do we use the CryoCube?
Protocol for how to use the CryoCube
- Equilibrate the fresh frozen tissue and CryoCube to -18 °C in a cryostat (such as Leica CM3050S) for at least 20 minutes prior to sectioning. The optimal temperature for sectioning may vary depending on the tissue type.
- Prepare the hybridization reaction mix as per protocol in section B (Tissue sectioning and hybridization to the Curio Seeker tile).
- Mount the tissue block and the CryoCube onto cutting blocks with Optimal Cutting Temperature compound (OCT compound).
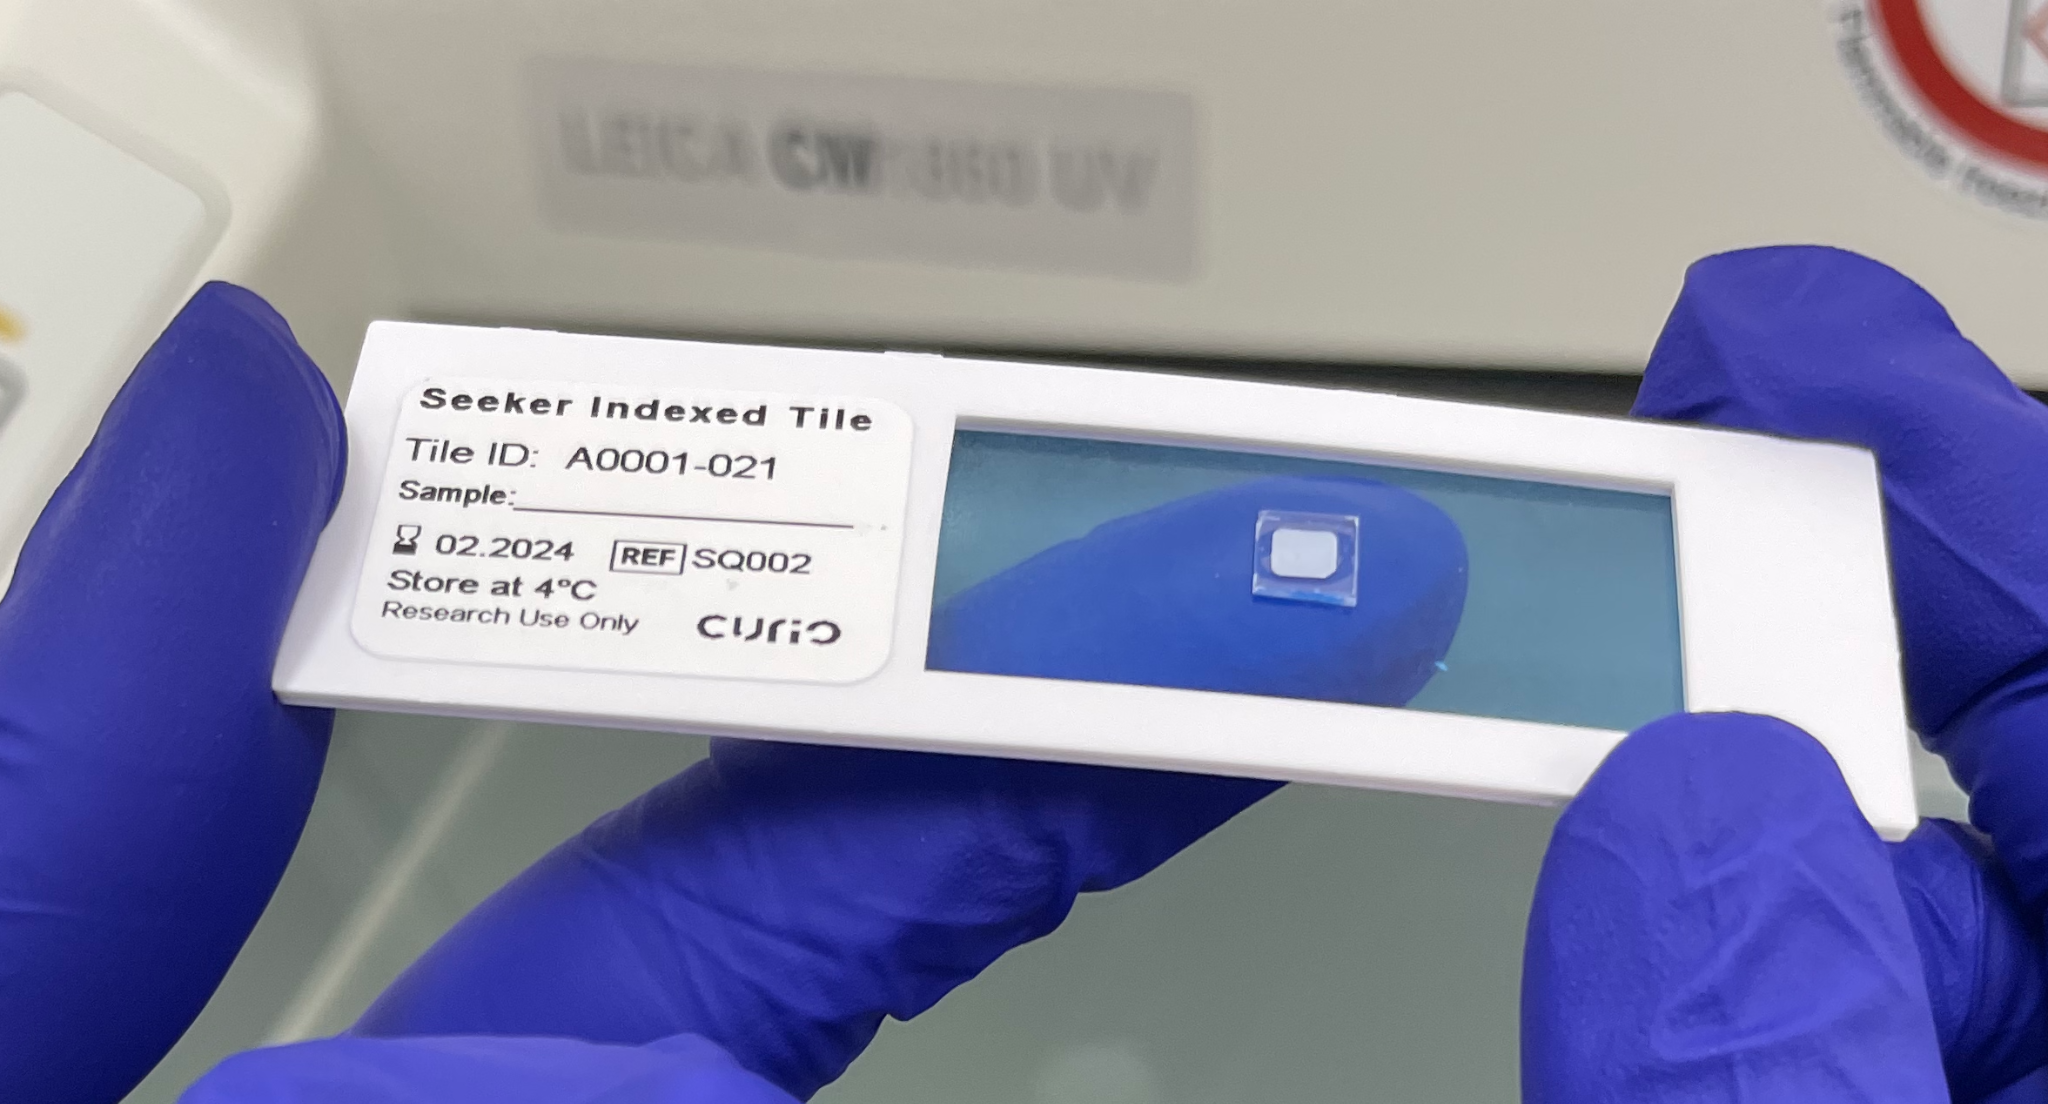
- Record the tile ID (ex: A0001_001) of the Curio Seeker tile as shown in the example
on the right.
- Section a 10 μm section of tissue.
- Melt the section onto the tile in one of the two ways described below:
- OPTION 1:
- Place the Curio Seeker tile slide in the cryostat to chill for 1 minute
- Place the chilled Curio Seeker tile slide on the cutting stage and
arrange the tissue section on top of the tile using a brush. Make sure
that the region of interest is positioned directly over the tile.
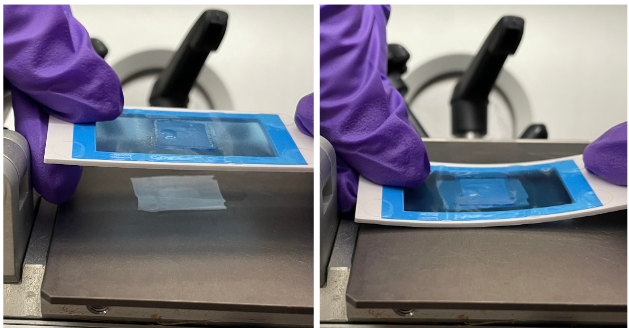
- With the tile and tissue section facing up, melt the tissue section
onto the tile by moving the tile off the cryostat stage, and GENTLY
placing a finger on the bottom of the slide glass, as shown in the
example below.
- To avoid curling of the tissue, start from one side and slowly move
your finger across the region rather than warming it from the center.
A small brush can be used to hold the other end of the tissue flat
during the initial melting from one end.
- OPTION 2:
- Hold a room temperature tile in the tile holder with the tile facing
down. Hover the tile over the region of interest. Keeping the tile
horizontal, gently lower the tile to bring it into contact with the tissue
section. The tissue section should melt onto the tile immediately.
- Place the tile with the melted tissue section back into the cryostat.
- Remove the tissue block and replace it with the CryoBlock.
- Section a 30 μm section of the CryoCube.
- Move the CryoCube section onto the tile so that it is covering the entire tile.
- Melt the CryoCube section onto the tile by placing a finger under the tile and
moving it across the tile until the entire CryoCube section and tissue section are
melted. Alternatively, briefly warm the tile with the tissue section by placing a finger
underneath the tile for a few seconds, and melt the CryoCube section onto the tile
with the stamping method described in step 6b.
.png?height=120&name=Curio%20Bioscience%20Logo%20Transparent%20(1).png)